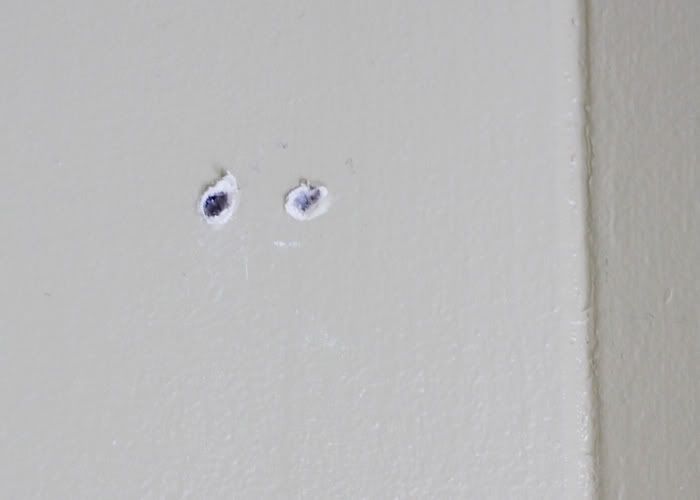
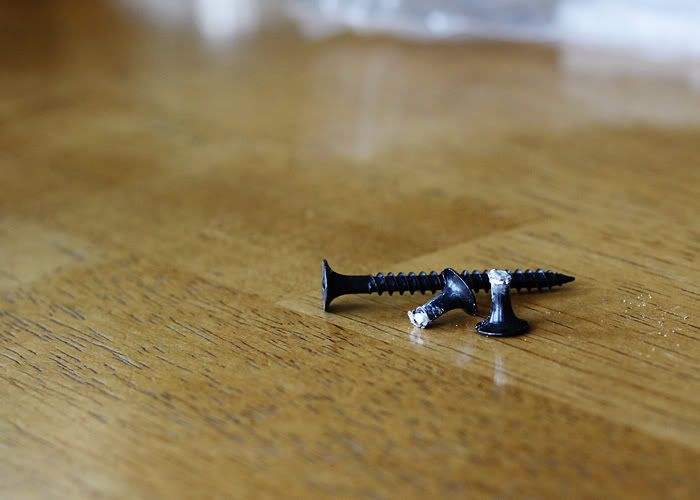
I started out hanging my curtain rods. Let's just say, it was not a fun task. I made my measurements on the walls. Got out the drill. Pre-drilled holes where I wanted the brackets to hang. I put the screwdriver head on the drill and set off to work. The first hole I made - my screw only went in so far, so I started to hand tighten it in the rest of the way when "POP" the stupid screw broke off in the wall! I grabbed another screw, moved over a bit from the first hole, got out the drill, and "SNAP" again! Another screw head broke off in the wall! This wasn't starting out how I'd expected it to!
Okay, enough of curtain rods. I set them aside hoping the hubs would come home and do them for me. On to the making of the valances. My supplies: Fabric, hot glue gun and glue sticks, ring clips and trim.
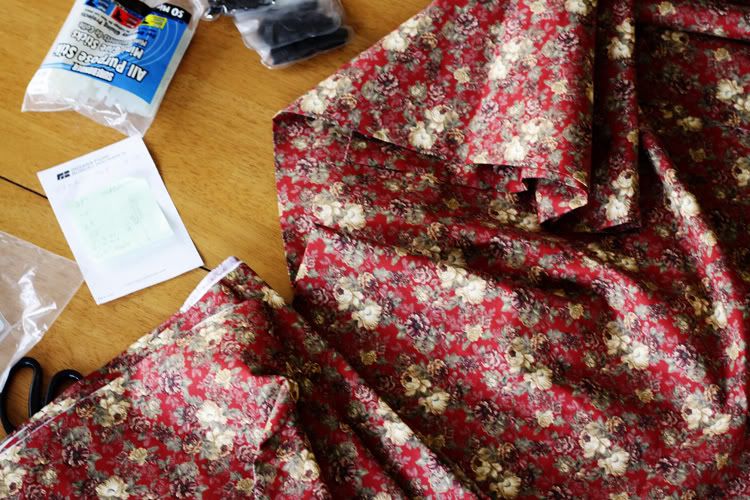
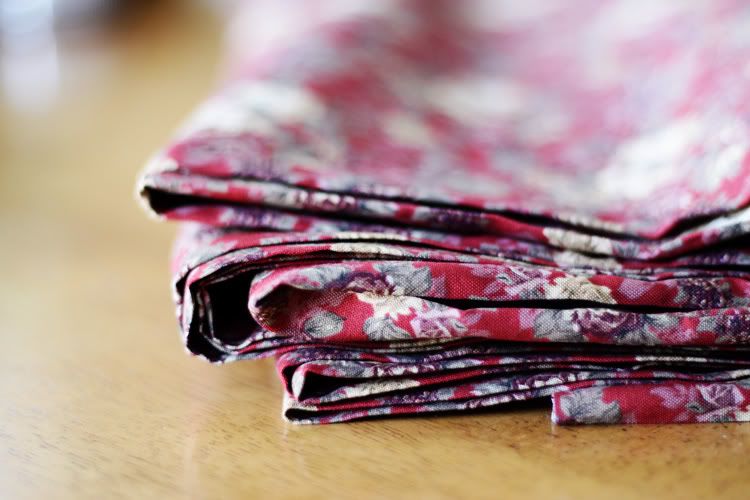
You start with your fabric, straight off the bolt. Iron it if you want to, I only did if there was a crease. Keep the fabric folded in half lengthwise.
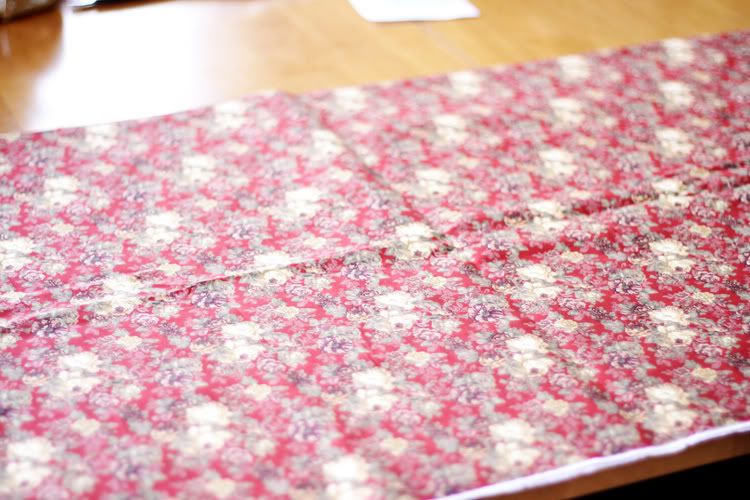
Nester would probably just fold over the tops, but Jodie is a little bit of a perfectionist, so she had to fold the top of the fabric over 4.5 inches and measure it.
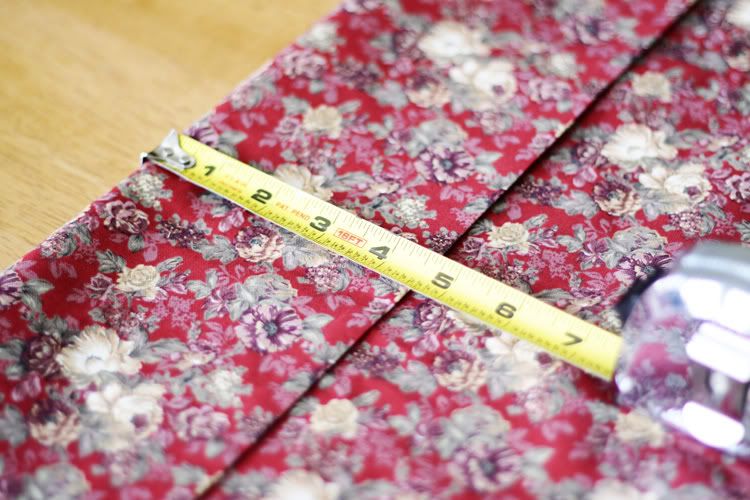
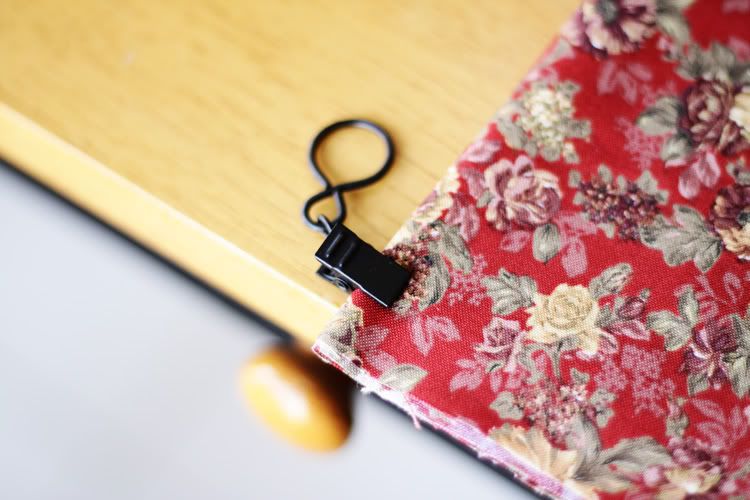
Using one of your ring clips, just clip one on each end. Fold your fabric in half and clip on the halves so that your clips are equally distributed. (see my raw edge, thanks to Nester, I'm not so concerned with that anymore! Freedom!)
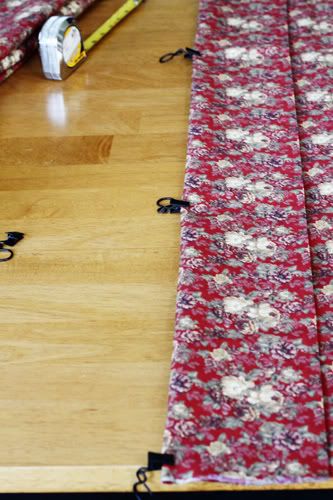
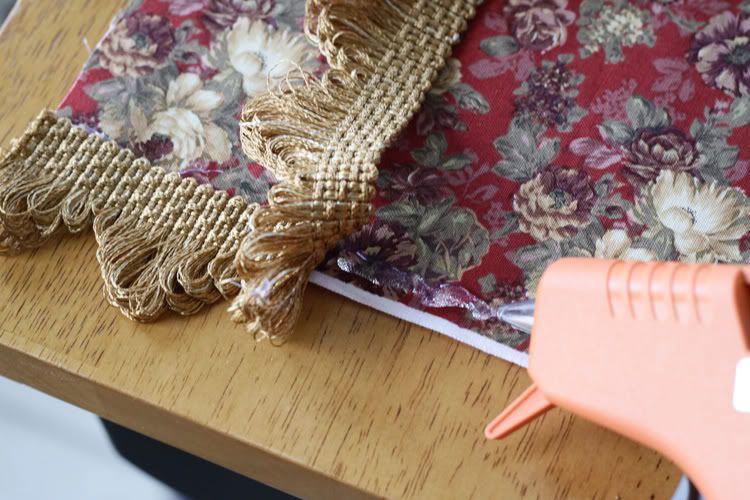
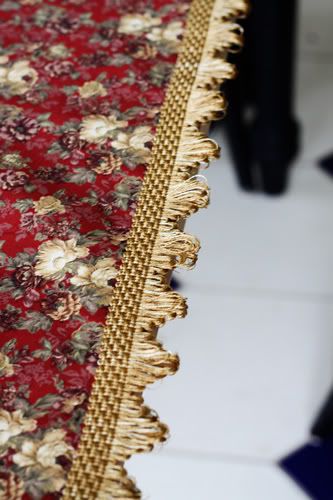
Now for the fun part. Fire up that hot glue gun and just glue your trim across the bottom edge of your fabric. I just covered up the white raw edge. Easy-Peasy!
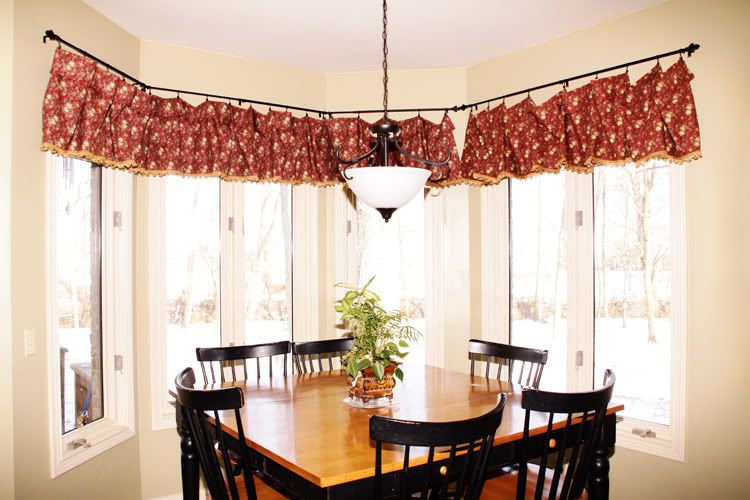
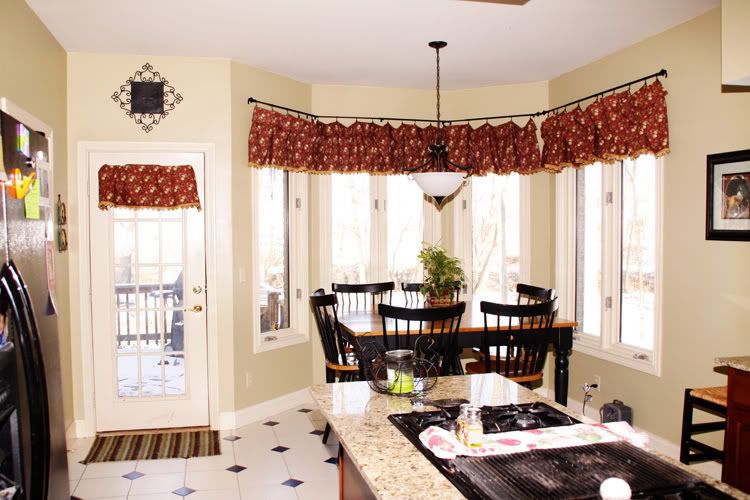
And here they are all hung and purty!

4 comments:
They turned out great. It looks beautiful & if you ever want to change it up or (heaven forbid - move) you can always use that fabric for something else.
Beautiful job. Another home turned back into a beauty thanks to the Minniears! Now when you going to be fair & move to Jax???
I love these!!!
Post a Comment